


Phaser 3 is an open source game engine for the web which is fun to use and has a gentle learning curve, making it nice and approachable.
Phaser also has a built-in system for plugins designed to enable devs to extend its base functionality with additional features. Today we will be examining how one can go about developing their own plugins for the Phaser ecosystem.
Create a test Phaser game
I recommend starting by creating a dummy game with which you can use to test your plugin, before implementing it into a full-fledged project.
There are many resources available for setting up a Phaser 3 boilerplate, feel free to follow my tutorial if you like Vite:
Setup a local NPM module
I'm writing this with the assumption that you may want to publish your Phaser plugin to the NPM ecosystem at some point. Therefore, we'll start things off right by setting up a local environment which we can use to test our plugin as if it was an NPM module.
First, in a new terminal window, navigate to where you'd like your plugin to live locally. Then run the following to initialize a folder for it:
mkdir plugin1 # create a folder for our plugin
npm init -y # initialize NPM
touch index.js # add an empty index.js ('main' in package.json)
npm link # allows you to simulate installing the package locally
The most important command we're running above is the final one: npm link. This is going to allow us to simulate installing the package as if it was published on NPM, but locally so we can develop it simultaneously.

Write some plugin boilerplate
Next, we'll write some boilerplate code for your Phaser plugin.
Open the plugin's index.js file located in it's root and add the following code:
import { Plugins } from "phaser";
const {BasePlugin} = Plugins;

export class TestPlugin extends BasePlugin {
  constructor(pluginManager) {
    super('TestPlugin', pluginManager);

    console.log('Constructor was called.');
  }

  init() {
    console.log('Init was called.');
  }

  reverseWord(word) {
    return word.split('').reverse().join('');
  }
}
Link your plugin locally
Now that we've written some basic Phaser plugin boilerplate, we can use npm link again to simulate installing your plugin into your test Phaser game.
Navigate to the test game's folder, then run the following from its root:
npm link 'plugin1'
This will give your test game access to plugin1 as if it were an installed dependency. We will import it via import statements and implement in our test game in the next section.
Add your plugin to the test game
For my test game, I followed my "How to setup a Phaser 3 project with Vite" tutorial. This tutorial leaves you with a basic main.ts entry point for your game which defines a dummy scene.
To add my plugin to this test game, I simply modified the main.ts as follows:
import './style.css'
import { Scene, Game, WEBGL, GameObjects } from 'phaser';

// @ts-ignore
import {TestPlugin} from 'plugin1';

const canvas = document.getElementById('game') as HTMLCanvasElement;

class GameScene extends Scene {
  private textbox: GameObjects.Text | undefined;

  constructor() {
    super('scene-game');
  }

  create() {
    const myPlugin: TestPlugin = this.plugins.get('TestPlugin');

    this.textbox = this.add.text(
      window.innerWidth / 2,
      window.innerHeight / 2,
      myPlugin.reverseWord('Plugin Test'),
      {
        color: '#FFF',
        fontFamily: 'monospace',
        fontSize: '26px'
      }
    );

    this.textbox.setOrigin(0.5, 0.5);
  }

  update(time: number, delta: number) {
    if (!this.textbox) {
      return;
    }

    this.textbox.rotation += 0.0005 * delta;
  }
}

const config = {
  type: WEBGL,
  width: window.innerWidth,
  height: window.innerHeight,
  canvas,
  physics: {
    default: 'arcade',
    arcade: {
      gravity: { y: 0 },
      // debug: true
    }
  },
  scene: [
    GameScene
  ],
  plugins: {
    global: [
      {
        key: 'TestPlugin',
        plugin: TestPlugin,
        start: true
      }
    ]
  },
}

new Game(config);
Note the // @ts-ignore comment above the import statement is required because we don't have a dedicated types package defined for the plugin.
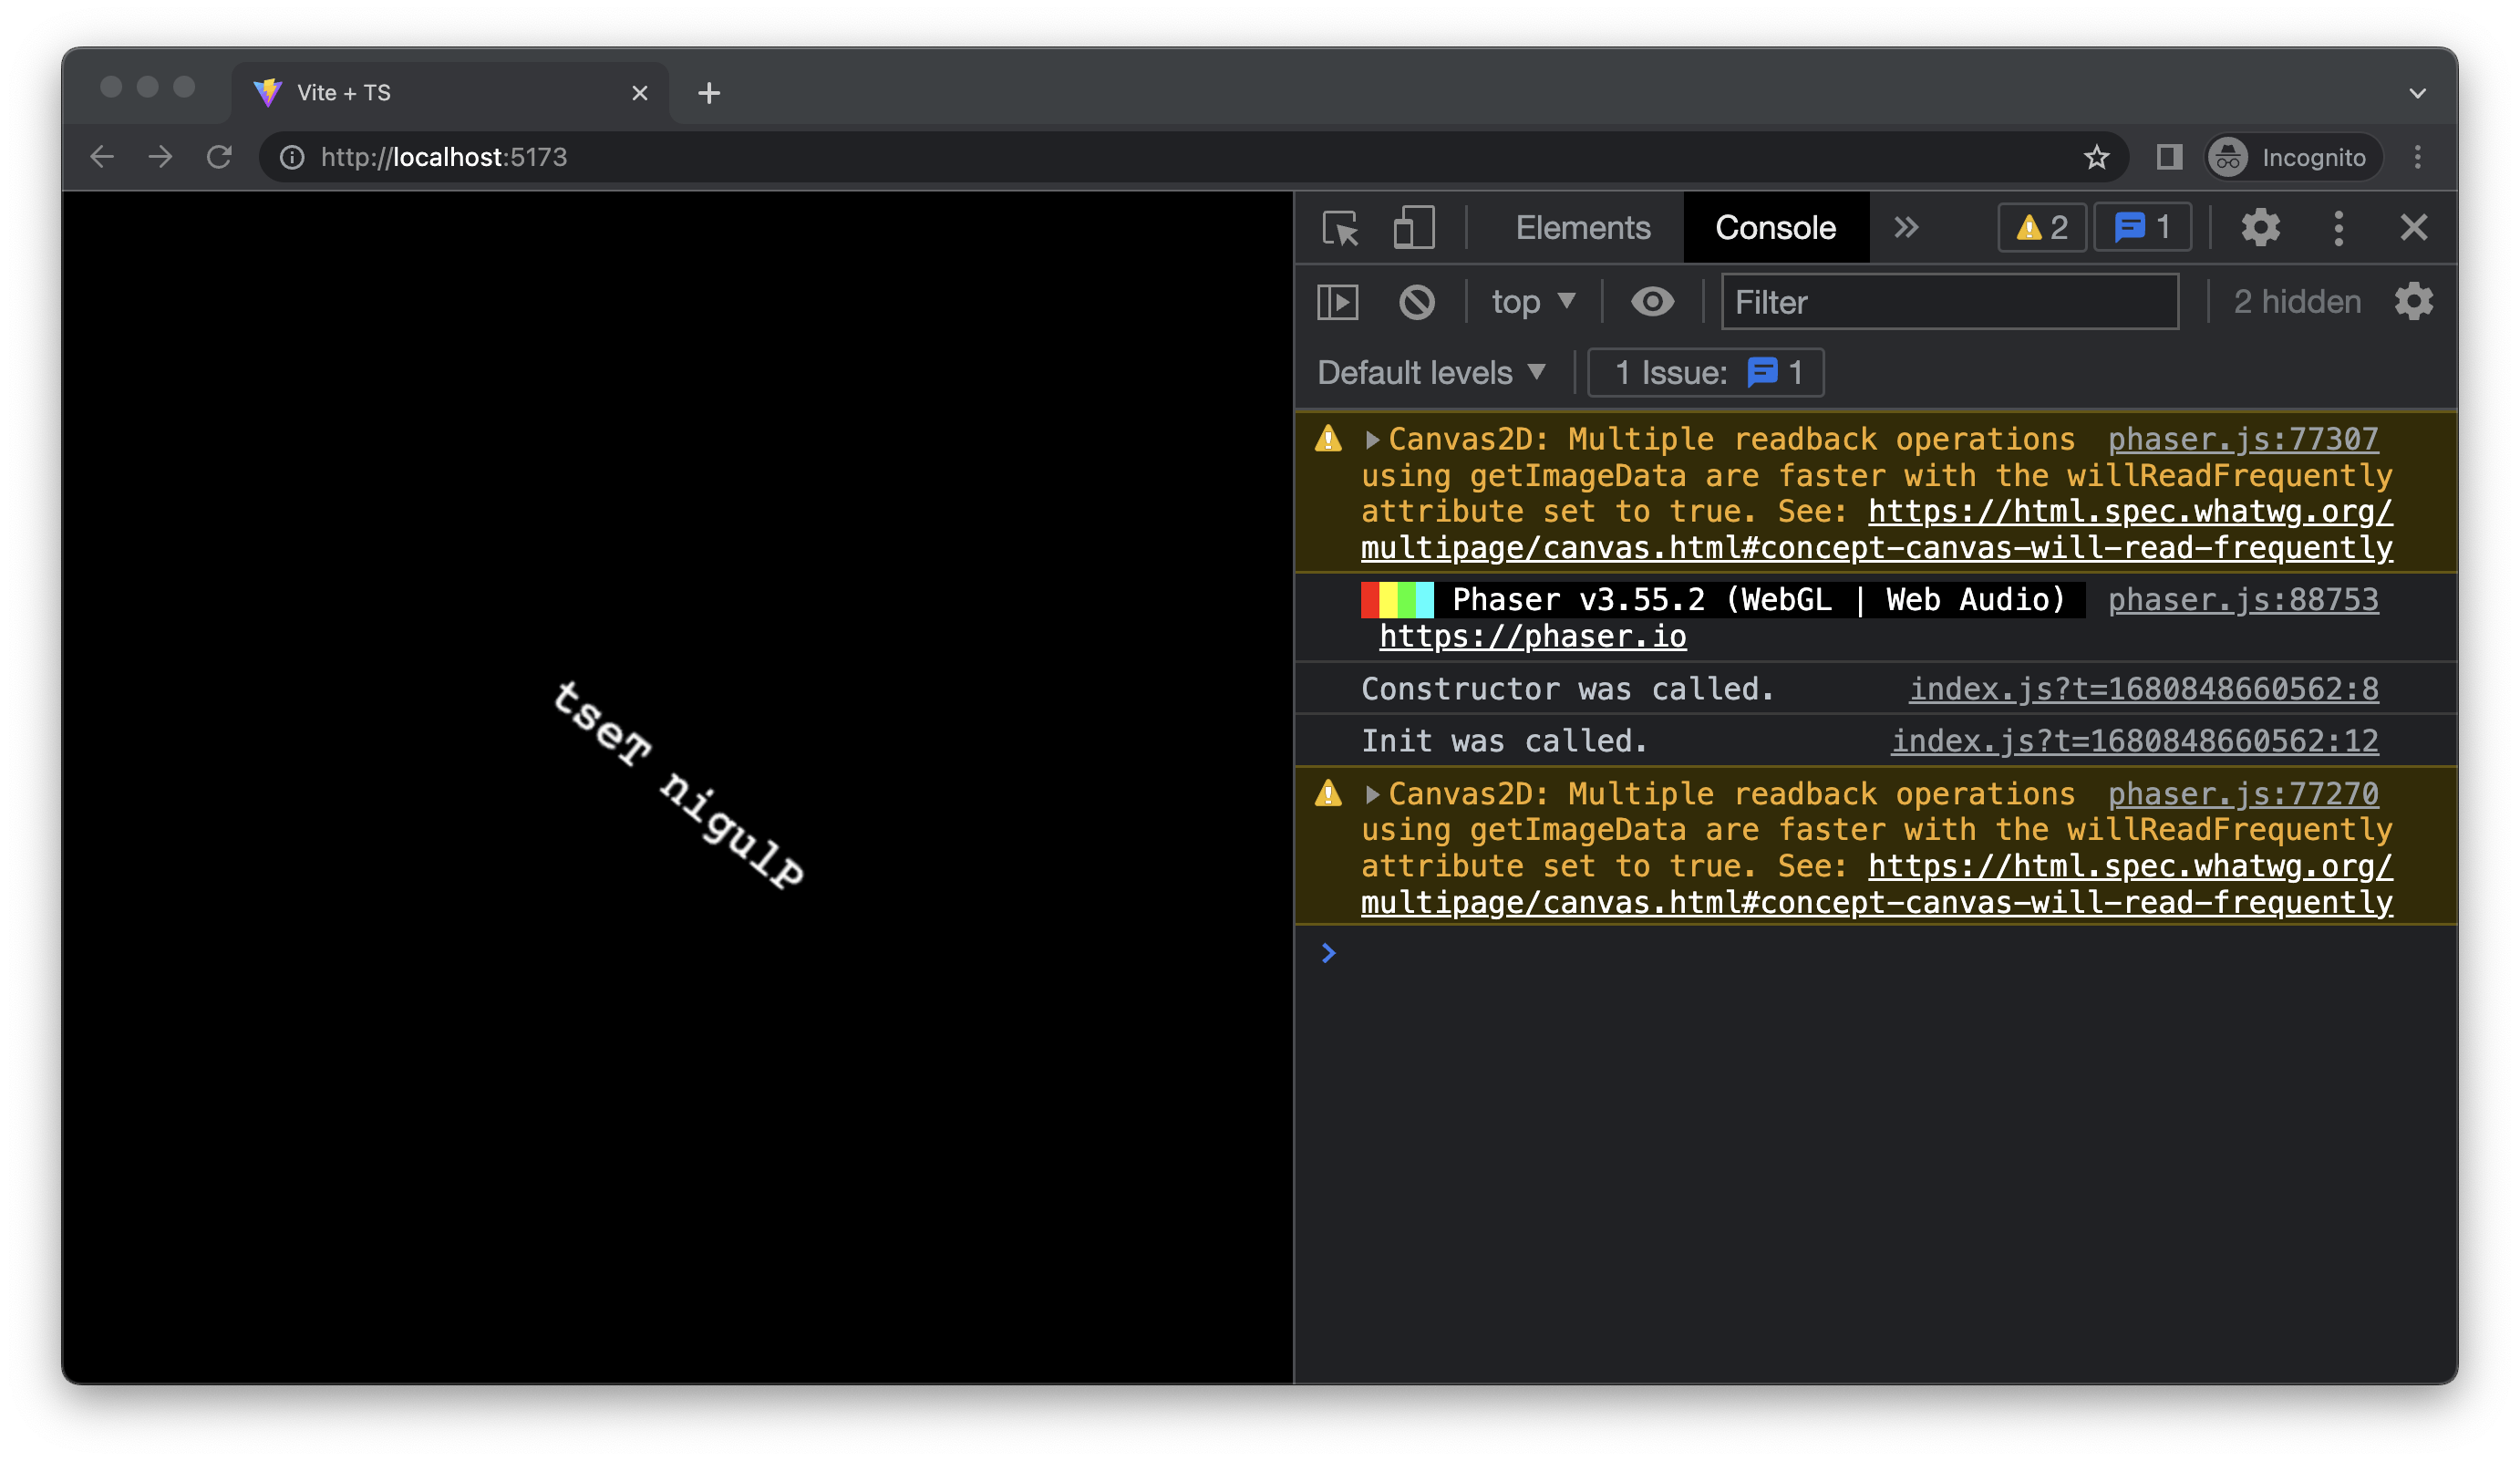
You can see in the above code that we were able to successfully call myPlugin.reverseWord('...') to reverse the string being displayed on the spinning text:
Thanks for reading my basic intro to creating plugins for Phaser 3. If anyone is interested in a deeper dive, let me know in the comments below!
As always, keep on creating! ❤️