


Table of contents
(Note, this article has been reposted from my old blog)
Hey there 👋
This tutorial is going to delve into setting up a PhaserJS project using Vite as the build tool. Vite is a great alternative to Webpack, offering features such as instant server start, fast HMR (although we won't be using this a ton in Phaser), optimized builds, and a universal plugins system.
Initial setup & dependencies
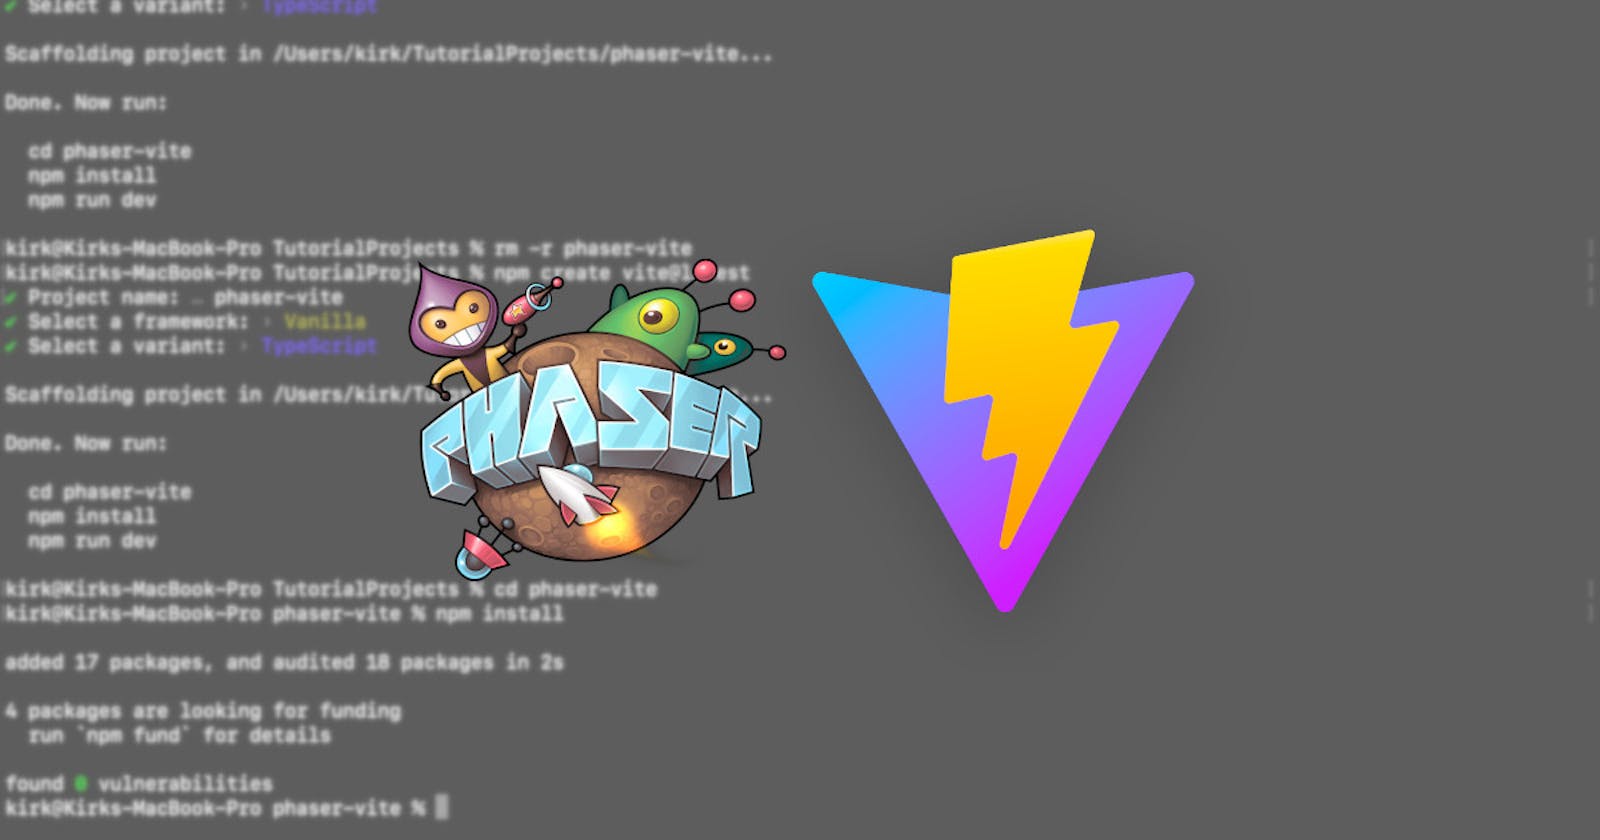
To begin our project, open a terminal and run the following (in your projects folder):
npm create vite@latest
Follow the prompt to enter a project name, then press enter. For this tutorial, we're going to go ahead and select Vanilla when prompted, so make sure you select this option.
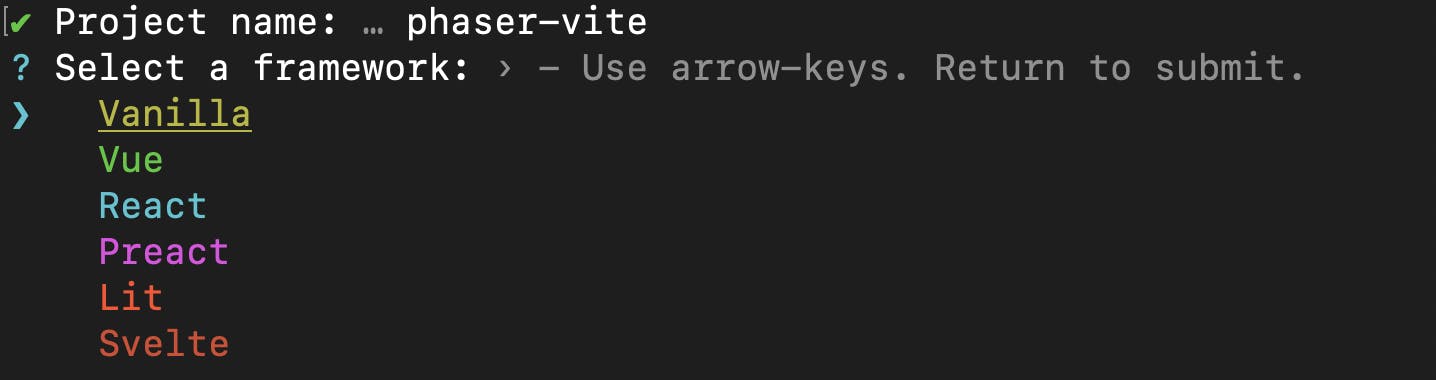
After that, you can select either JavaScript or TypeScript. Believe it or not, I'm going to use TypeScript for this one...
I think I've been converted.
Anyways, after the Vite wizard completes cd into your freshly created project folder and install Vite's dependencies:
npm install
After that, we'll simply use the same command to install Phaser:
npm install phaser
And that's about it for the dependencies we'll be needing. If you've worked with Webpack at all, I think by this point you'll already have noticed Vite does a considerably better job at simplifying it's setup process.
Boilerplate code
Our next step is to open our newly bootstrapped project's index.html file and make the following change:
<!DOCTYPE html>
<html lang="en">
  <head>
    <meta charset="UTF-8" />
    <link rel="icon" type="image/svg+xml" href="/vite.svg" />
    <meta name="viewport" content="width=device-width, initial-scale=1.0" />
    <title>Vite + TS</title>
  </head>
  <body>
    <canvas id="game"></canvas>
    <script type="module" src="/src/main.ts"></script>
  </body>
</html>
This gives us a canvas element we can reference in the next step, which is to open src/main.ts.
Note if you selected JavaScript instead of TypeScript in the first step, some of the following steps and code snippets may differ slightly for you.
With that file open, we can replace everything inside with the following:
import './style.css'
import { Scene, Game, WEBGL, GameObjects } from 'phaser';

const canvas = document.getElementById('game') as HTMLCanvasElement;

class GameScene extends Scene {
  private textbox: GameObjects.Text | undefined;

  constructor() {
    super('scene-game');
  }

  create() {
    this.textbox = this.add.text(
      window.innerWidth / 2,
      window.innerHeight / 2,
      'Welcome to Phaser x Vite!',
      {
        color: '#FFF',
        fontFamily: 'monospace',
        fontSize: '26px'
      }
    );

    this.textbox.setOrigin(0.5, 0.5);
  }

  update(time: number, delta: number) {
    if (!this.textbox) {
      return;
    }

    this.textbox.rotation += 0.0005 * delta;
  }
}

const config = {
  type: WEBGL,
  width: window.innerWidth,
  height: window.innerHeight,
  canvas,
  physics: {
    default: 'arcade',
    arcade: {
      gravity: { y: 0 },
      // debug: true
    }
  },
  scene: [
    GameScene
  ]
}

new Game(config);
Then our final step is to nuke the existing CSS in src/style.css and replace it with the following simple stylesheet:
html,
body {
 margin: 0;
 padding: 0;
}

canvas {
 display: block;
}
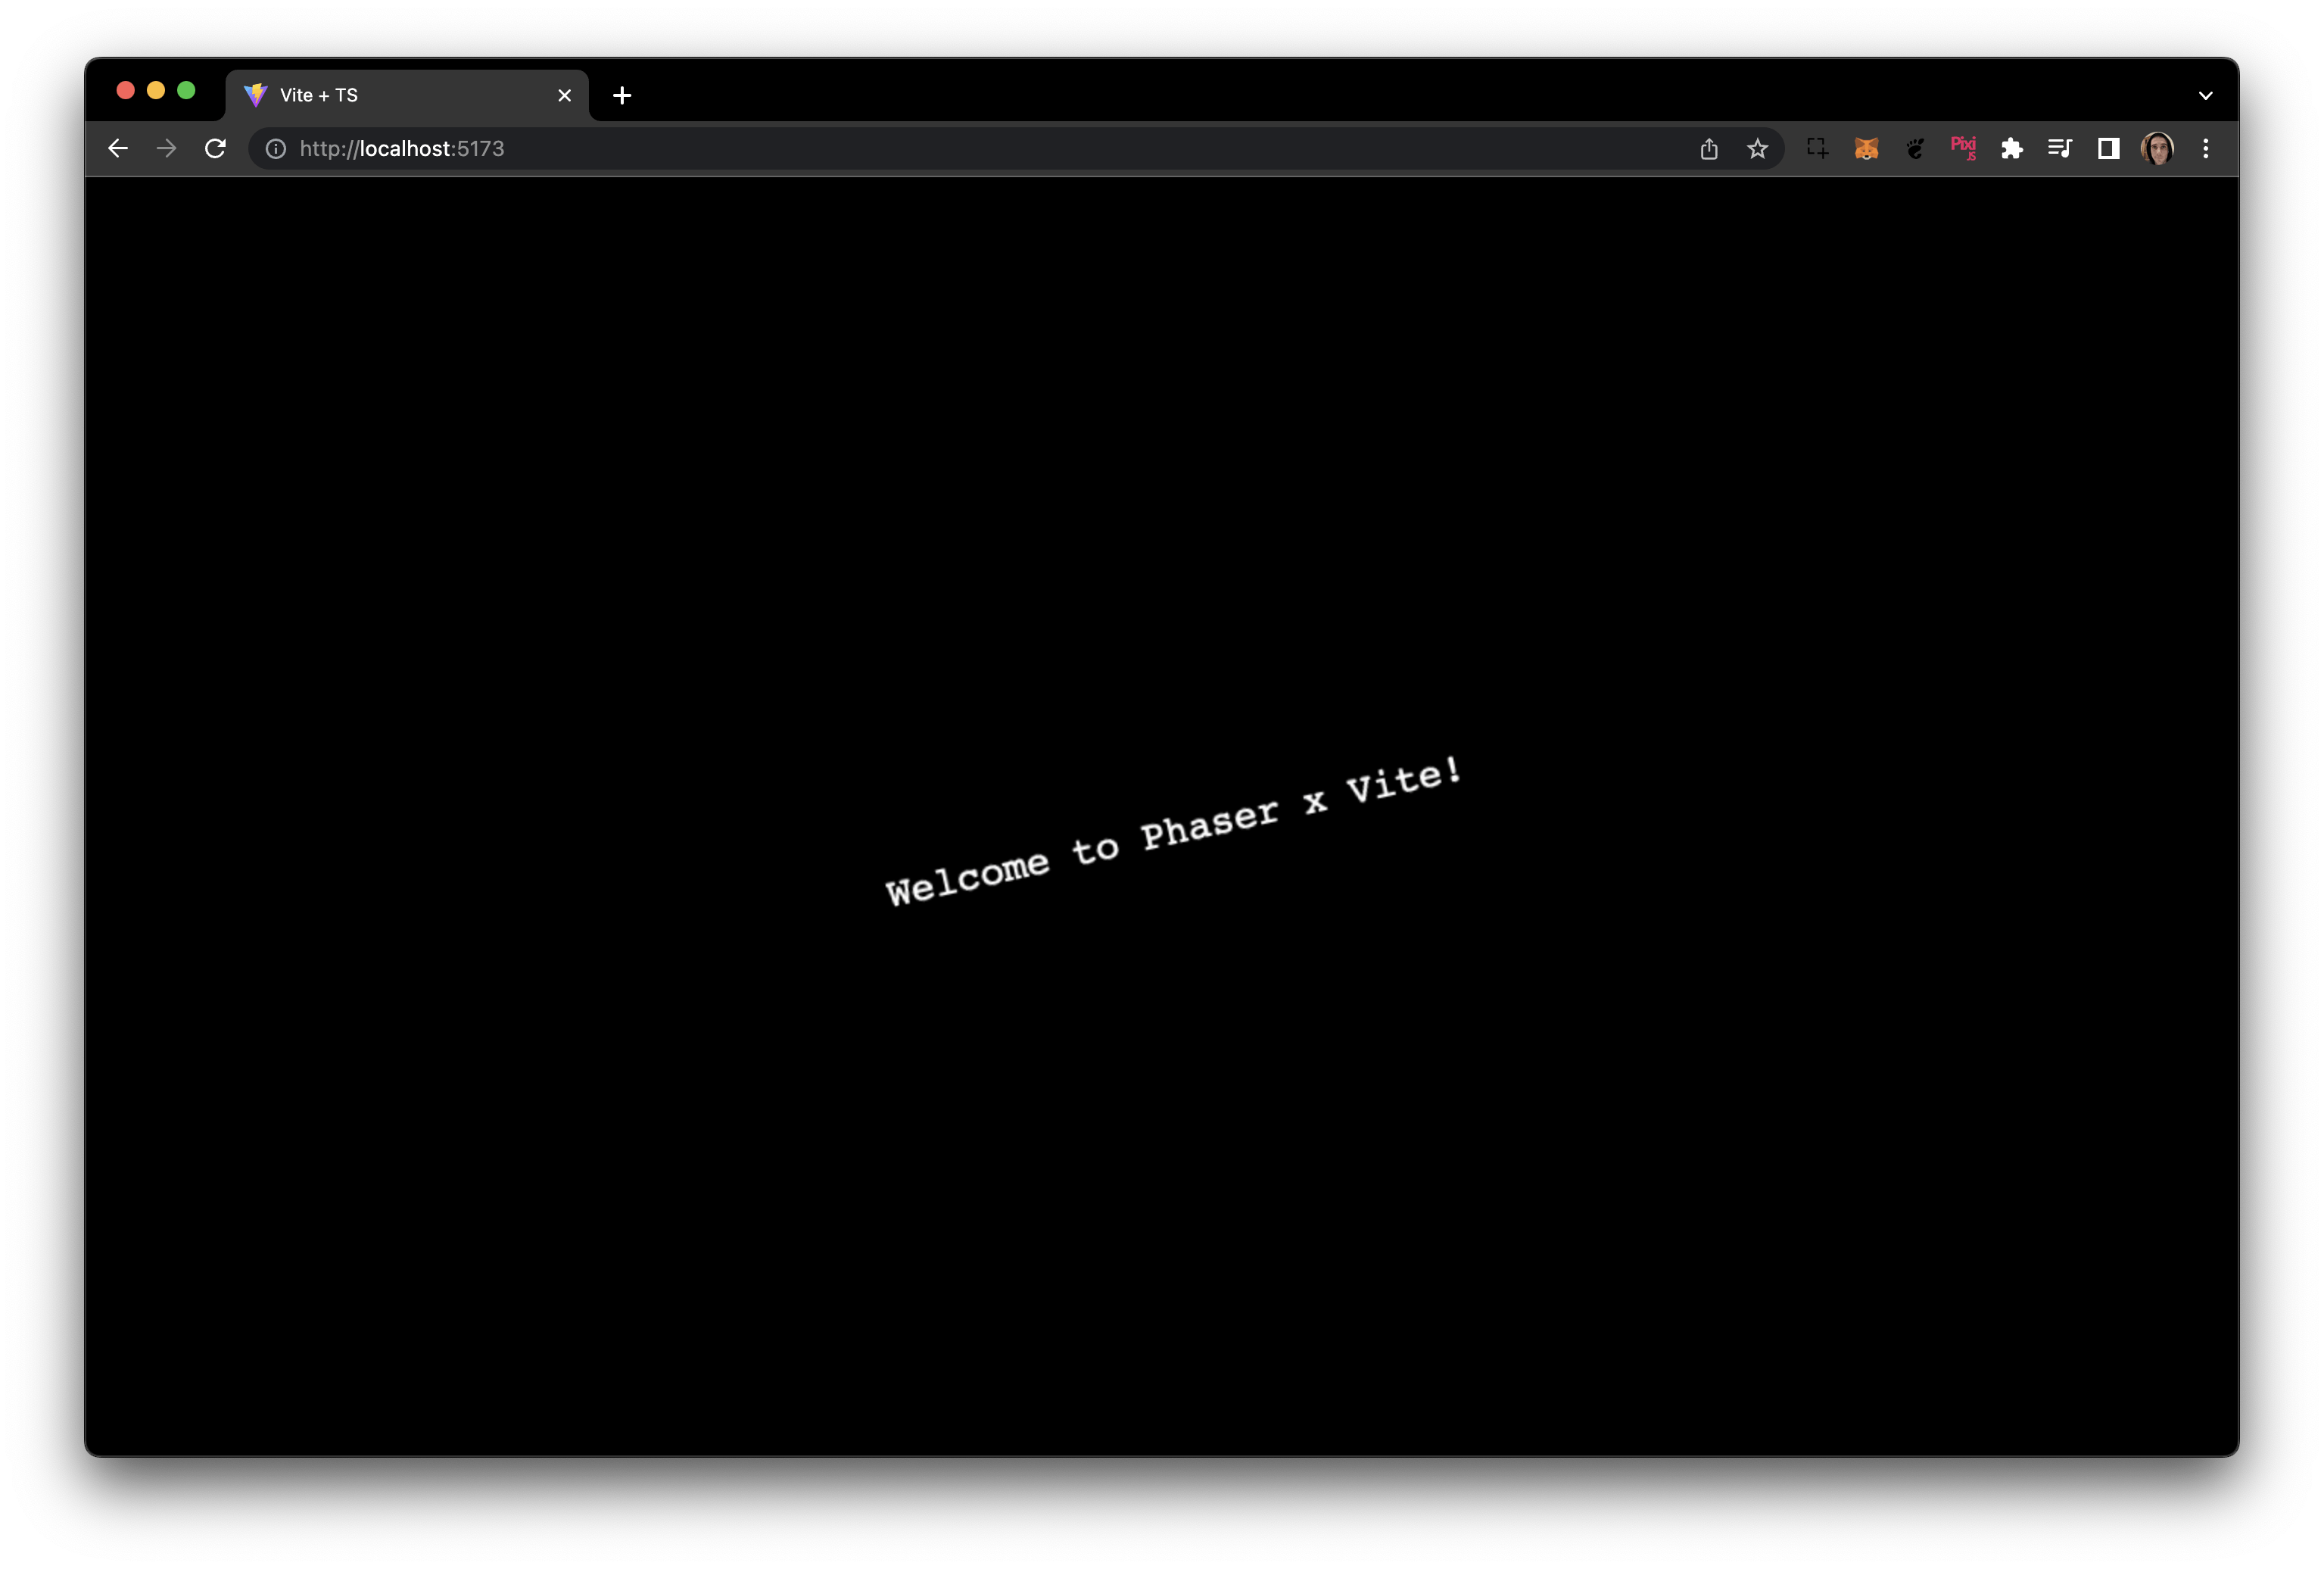
If you navigate back over to your terminal and run npm run dev from your CLI, you should be greeted with the following when you open http://localhost:5173:
I hope this tutorial was useful to you, and if it was please consider signing in with Discord to leave a comment! 😇
And as always, keep on creating!
Kirk M. (@saricden)