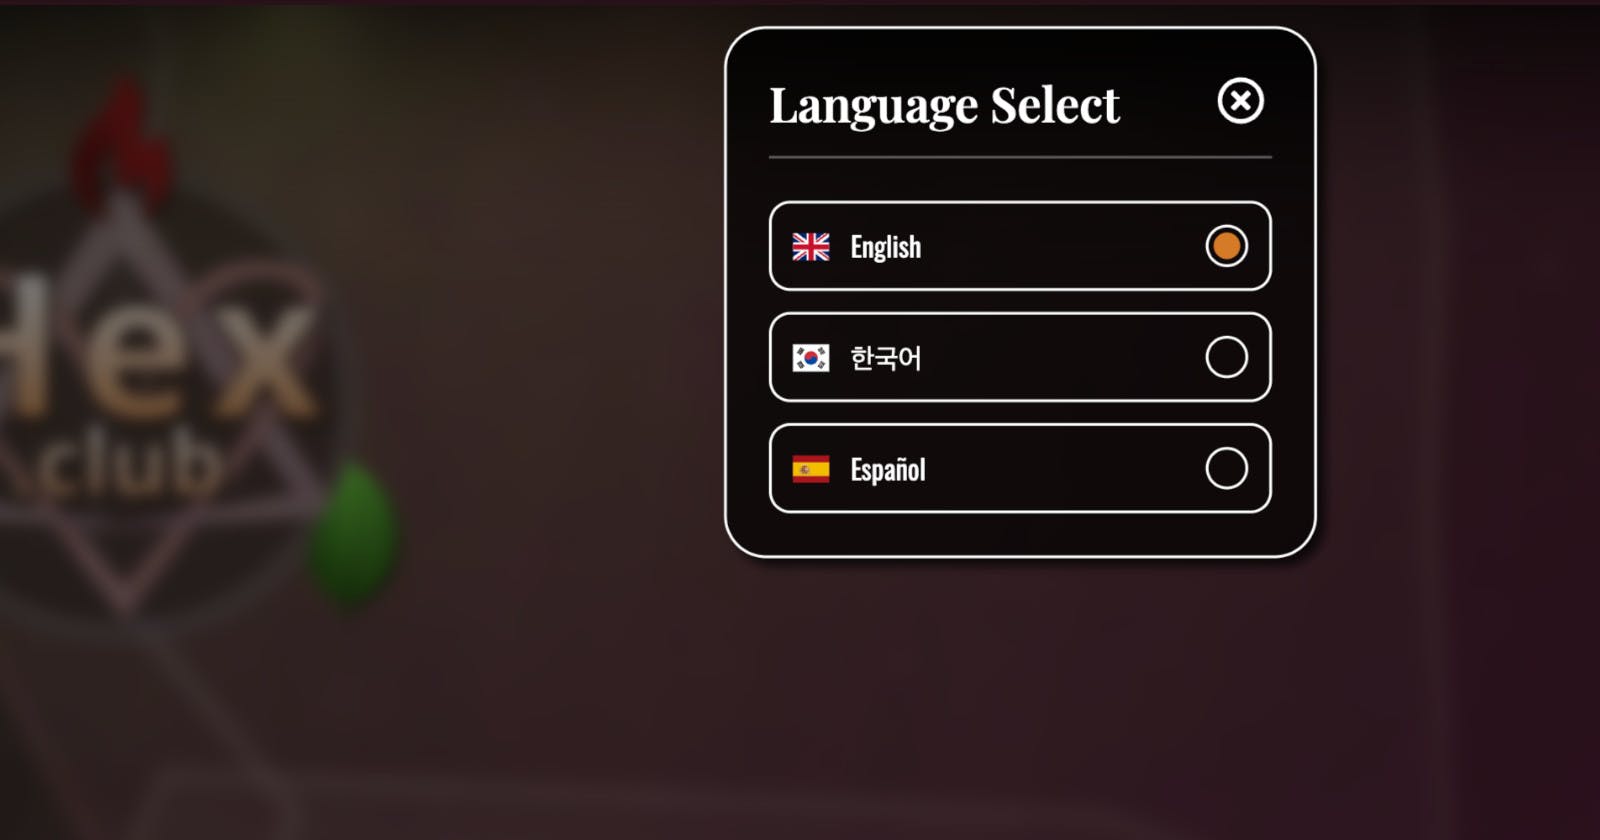
While developing my game: Hex.club, it became clear that translating my game into multiple languages (particularly Korean) would expose the game to a larger pool of more varied player markets.
Therefore, I needed a technical solution to maintaining localization strings, which is the fancy web-developer way of describing translations of strings which appear in the app / site / game user interface. These could be button labels, headings, or any other textual content in the UI.
Interestingly, my final (and handmade, I might add) implementation functions primarily through CSS. The only JS required is to conditionally toggle a class on the `documentElement` DOM object to indicate the active language currently selected in the game.
I will break down my approach to this in the following sections, along with reasons why you might want to do this as well as reasons you might not want to.
Decide on the languages you're supporting
In the case of Hex.club, at the time of writing the supported language targets are:
English
Korean
Spanish
The corresponding ISO 639-1 codes for these languages are EN, KR, and ES. We will use these language codes as keys in the following HTML markup.
Apply custom data elements with the translated strings
To keep the example code short and to the point, we'll simply focus our efforts on the title screen's "Play Now" button, however, the approach shown here can be extended and applied to any other UI element in your game, app, or website (so long as you're marking up the UI with HTML):
<button id="btn-play-now" class="btn-play">
  <img src="/ui/PlayIcon.svg" alt="" />
  <label
    data-locale-en="Play Now"
    data-locale-kr="게임 시작"
    data-locale-es="Jugar Ahora"
  ></label>
</button>
Note the format of the data-local-xx attributes, where each xx corresponds to the language codes we found earlier. The value of each attribute is what that particular label should read in the indicated language.
It's also worth noting that the actual textNode (or innerHTML) of the <label> element should be empty.
The CSS to apply the active translation string
The following CSS will dynamically use the correct localization string based on a parent class representative of the active language within your application:
.hc-locale-en [data-locale-en]::after {
  content: attr(data-locale-en);
}

.hc-locale-kr [data-locale-kr]::after {
  content: attr(data-locale-kr);
}

.hc-locale-es [data-locale-es]::after {
  content: attr(data-locale-es);
}
To illustrate how this works, let's assume our currently selected language is Korean, and therefore our document's <html> tag has a class of hc-locale-kr applied to it.
All child elements with the attribute data-locale-kr will then be selected and a pseudo-element will be appended within their content. The content of this pseudo-element will then be set to the attribute value of data-locale-kr, which we can safely assume exists on this element because we're selecting it by the existence of that attribute.
The JS to set the active language
The only JS required for this method of string localization is the following:
// Keep an array of all supported language classes
const supportedLanguages = [
  'hc-locale-en',
  'hc-locale-kr',
  'hc-locale-es'
];

// A simple function to set the language
function setLanguage(isoLang) {
  const root = document.documentElement;

  // Remove any existing language class
  supportedLanguages.forEach((lang) => {
    root.classList.remove(lang);
  });

  // Apply the passed language's class
  root.classList.add(`hc-locale-${isoLang}`);
}

// Calling setLanguage('kr') change the <html> element's class based representation of the active language to Korean, and because the rest is handled in our CSS the language strings throughout our application will be instantly updated to display their Korean strings
setLanguage('kr');
Note with the implementation described above you will need to always call setLanguage('xx') once to initialize the active language, and then subsequent calls can change the active language.
And ta-da! Our implementation is now complete. To add more translations to other elements simply add the data-locale-xx attributes with the correct values to each element you want to display a translation for language xx.
Reasons why you might consider using this approach
This approach has as I see, a couple of core benefits...
For one thing, changing locale doesn't require anything from the server and therefore no AJAX calls or full page reloads are required. Because the translation strings are baked into the element, changing the document's locale is a near-instant operation.
Another good reason to consider this approach is that it makes locating and modifying translation strings a breeze. For anyone who has worked on a large production project with a dictionary-key style localization system implemented with many thousands of keys, you might understand how frustrating tracking down individual strings can be.
Reasons you might consider not using this approach
There are, however, some very valid reasons this might not be the best choice for your project.
One example is if you know that you will have sets of the same strings + translations being repeated throughout your application. The method proposed in this article would require you to repeat these strings in every location, as opposed to if you used a key-based system.
Another reason you may not want to use this approach in your project is if SEO is a big consideration for the application you're building! I can almost guarantee that Google's magical crawly spiders won't be improving your page's rank based on imaginary data attributes that we just invented. Therefore, if SEO is a high consideration for the application you're building localization into, it might be worth looking elsewhere.
In summary, this is just a neat trick with some very useful applications that I realized was possible with CSS. I always enjoy learning weird browser tricks, and I hope this one was enjoyable for you too!
As always, keep on creating! ❤️

